Creating an architectural model brings your design vision to life in a way that resonates deeply with clients and stakeholders.
This model moves beyond mere dimensions to convey the emotion, purpose, and aesthetic of your design in ways that 2D drawings and digital renders cannot (source).
A well-made model tells a story, captures attention, and allows people to see the potential of your project in the real world.
This guide provides in-depth techniques, insights, and advanced tips to help you craft a model that meets professional standards and captures your unique design vision.
Understanding Your Model’s Purpose and Scale

The first step in model-making is a conceptual one.
Identifying the purpose and scale of your model sets the foundation for every choice that follows, from material selection to construction techniques.
Advanced model makers understand that both purpose and scale significantly impact function and cost.
- Concept Models: Often crafted in the initial stages of design, these explore fundamental forms and layout. They allow architects to quickly assess proportions, massing, and spatial relationships. Keep them simple and easy to adjust, using materials that can be cut and altered rapidly, such as foam board or clay (source). Example: In a concept model for a commercial complex, you might only include block shapes to represent key buildings, omitting details to experiment with spatial layouts.
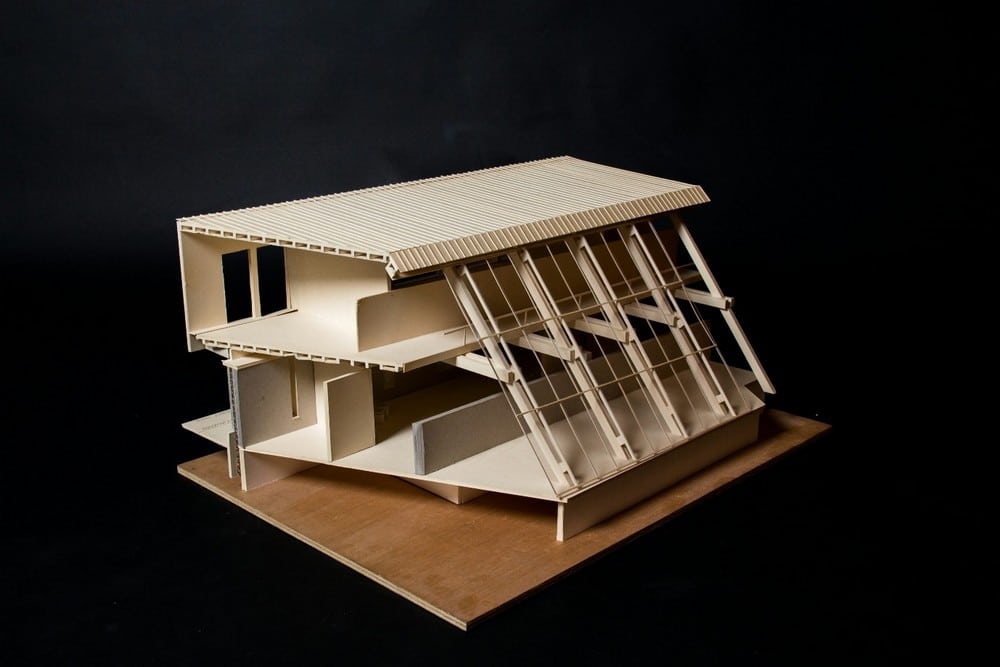
- Presentation Models: Presentation models are where you get to impress. These models should be rich in detail, refined, and visually striking, using high-quality materials that reflect the style and mood of the project. You can incorporate aspects like windows, exterior facades, and textures to give a realistic portrayal of the finished project. Example: When creating a presentation model for a residential building, consider using acrylic for glass windows and adding subtle landscaping touches to depict the structure within its natural context.
- Study Models: These “working” models test structural aspects, spatial configurations, or design feasibility. They may include details like load-bearing walls or roof structures, emphasizing practicality. Example: If you’re designing an auditorium, a study model might focus on optimal seating layouts and sightlines, setting aside the materials or aesthetics of the seats themselves.
Expert Insight: Larger, detailed models (such as 1:50) highlight design subtleties, ideal for residential projects or small-scale buildings. Smaller scales, like 1:200, provide a broader overview suited to large complexes. Choosing the right scale early on saves time, eliminates costly mistakes, and keeps the model aligned with your goals.
Selecting the Right Materials: Bringing Your Vision to Life

Material choice impacts both appearance and functionality.
Advanced model-making goes beyond basics, selecting materials that enhance the model’s intended feel while considering factors like durability, ease of manipulation, and finishing.
- Foam Board: Foam board is a standard material in architectural modeling due to its light weight, affordability, and ease of use. It’s excellent for both concept and study models, where materials need to be quickly cut and shaped (source).
- Tip: For a precise, clean look, use a sharp utility knife and replace the blade often to avoid fraying or uneven edges. If your model needs to represent walls or larger structures, reinforce foam board with wood or cardboard backing for added stability.
- Balsa Wood: Known for its lightweight, soft texture, balsa wood is perfect for adding warmth and a natural aesthetic to models. It’s a favorite for professional-grade presentation models because of its flexibility and the sense of craftsmanship it conveys.
- Pro Tip: To bring out the full potential of balsa wood, consider staining or sanding the edges for a more polished appearance. If you’re working with curves or arches, wet the wood lightly to make it pliable without breaking, then let it dry in the desired shape.
- Acrylic Sheets: Acrylic works well for creating modern, polished looks, especially for windows, glass facades, or transparent surfaces. Acrylic adds depth to models and enhances visual appeal, though it requires careful handling and precise cuts.
- Use a scoring knife to score and snap it cleanly, avoiding rough or cracked edges. For large glass panes in a model, secure the edges with thin adhesive strips or frame them within other materials like wood or metal for added stability.
- Cardboard: Cardboard remains a versatile option, useful for large-scale conceptual or study models. Reinforce cardboard with foam core or lightweight wood for improved stability.
- Double-ply cardboard can increase strength, while corrugated cardboard’s internal texture can create unique effects.
Advanced Tip: Combining materials strategically creates visual depth and interest. For instance, you might use foam board for walls, acrylic for windows, and balsa wood for accents, ensuring each material complements the others and adds a professional finish.
Essential Tools for Model Crafting: Precision and Control

High-quality tools make a world of difference in model making, ensuring every cut, fold, and join is precise and clean.
Here are some tools you’ll want to have on hand:
- Utility Knife and Blades: A sharp utility knife is essential for clean, precise cuts. Replace the blade often, as dull blades can cause fraying, especially on materials like foam and cardboard.
- Tip: Invest in a range of blade shapes and sizes to work effectively with different materials; thinner blades work best on delicate sections, while larger blades can handle thick materials like foam board.
- Metal Ruler with Cork Backing: A metal ruler provides the durability needed to cut straight lines consistently. Look for one with a cork backing to prevent slipping, which is especially useful when making precise cuts.
- Pair this tool with any cutting tool to ensure crisp, clean edges, which is especially useful when layering materials.
- Maun Snipe Nose Smooth Jaws Parallel Plier 125 mm: This high-precision tool is invaluable for handling small or delicate aspects without leaving marks. The parallel jaw design provides even pressure along the entire jaw length, making it ideal for gripping fragile parts without causing damage. It’s particularly useful for intricate details like railings, wire structures, or fine metal pieces.
- Practical Tip: Use the Maun plier for bending thin wire, securing small parts, or placing intricate details that require a steady grip and delicate touch. Its tapered jaws are designed for confined spaces, making it versatile for both large and small-scale models. See their model making tools here: Maun
- Fine-Point Glue Applicators and Tweezers: For intricate sections, tweezers and fine-point glue applicators are essential. They allow precise placement and avoid the risk of excess glue, which can mar the model’s appearance.
- Look for fine-tipped tweezers, which provide a steady grip and allow you to maneuver even the smallest components.
Expert Tip: Keep your tools well-maintained and organized for efficiency. A cluttered work area can lead to mistakes, and worn tools will degrade the quality of your cuts and joins.
Constructing the Base: Building the Perfect Foundation

Your model’s base isn’t just a platform; it’s a critical part of the model that communicates context, setting, and purpose.
Crafting a sturdy, carefully constructed base sets the tone and grounds the model in its environment.
- Choose a Stable Material: MDF or plywood are both excellent choices, providing stability without excessive weight (source). Consider using MDF if you need a smooth, paintable surface, while plywood’s natural grain can add texture. For models depicting urban landscapes or topographies, laser-cut MDF bases can provide precise contours or layered depth.
- Integrate Site Context: For added realism, consider including basic landscaping aspects, surrounding buildings, or topographical features on the base. Use model foliage, gravel, or sandpaper to mimic texture. Example: If your model shows a suburban development, you might use fine-scale model trees, grass, and sidewalks to show how it fits into its surroundings.
- Accurate Scale: Your base should match your model’s scale precisely to avoid spatial inconsistencies. Measure carefully to ensure that contextual aspects are in proportion. Tip: For large-scale projects, layering materials can add subtle depth, while engraving can denote walkways, roads, or elevation changes.
Tip: Integrating site context on the base doesn’t just improve aesthetics; it helps clients and colleagues visualize the project’s integration into its real-world setting.
Adding Realistic Details: Elevating Your Model’s Impact

Adding realistic details enhances interest and makes your model memorable.
The level of detail you choose reflects both the model’s purpose and the story you want to tell.
- Glass and Transparency: For larger models, use acrylic sheets for windows and glass facades, which can be tinted or left clear depending on the building’s aesthetic. Smaller models might benefit from painted windows or printed textures. When working with acrylic, add window frames or mullions with fine strips of wood or metal for added realism.
- Landscaping Aspects: Greenery, pathways, and outdoor spaces can be created using model foliage, sand, or textured paint. Example: You might use textured grass mats for lawns, mini trees to represent landscaping, or sandpaper for pathways. For a larger project with outdoor features, small rocks can represent gravel or stone.
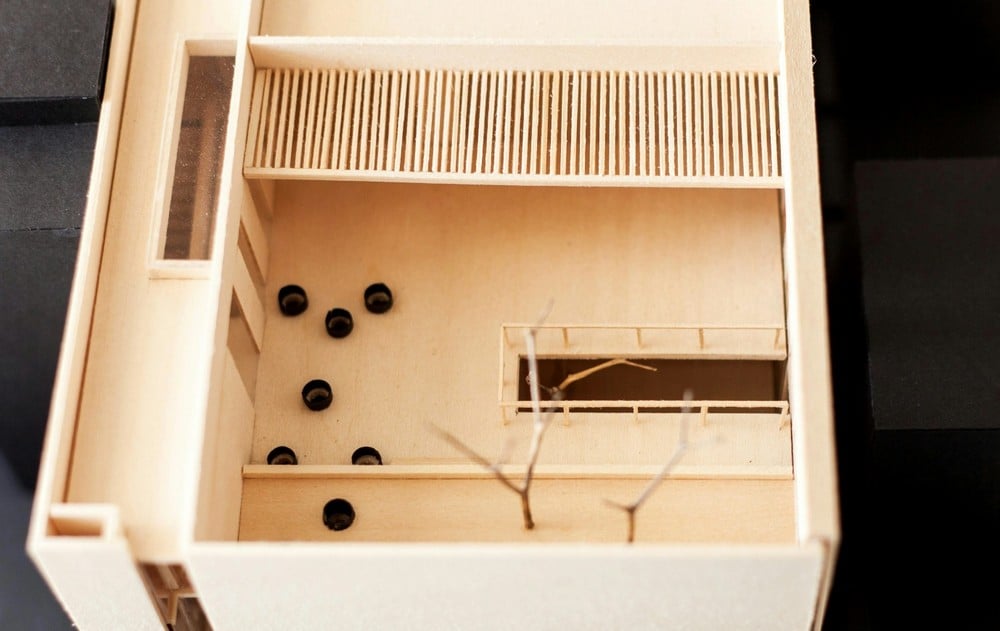
- Interior Layout: When depicting interiors, keep proportions accurate and avoid overcrowding. Use simple furniture shapes to indicate function without overwhelming the space. Small LED lights can add ambiance and showcase how natural light affects interior spaces.
Advanced Tip: Use color and texture sparingly for a professional look. A neutral or monochromatic color scheme highlights your building without distracting viewers.
Presenting Your Model: Capturing the Viewer’s Attention
Presentation is your final chance to make an impact.
Expert presentation focuses on clarity, lighting, and context to enhance the model’s appeal.
- Careful Placement: Position the model on a clean, neutral surface and at an optimal viewing height, allowing viewers to appreciate details comfortably. If possible, choose a space where viewers can walk around the model for a full 360° perspective.
- Thoughtful Lighting: Soft, even lighting is essential. Natural lighting often works best but, if unavailable, use LED lights to prevent glare and highlight key areas. Shadows should be subtle to avoid obscuring details.
- Adding Scale Figures: Strategically placed figures, vehicles, or trees give a sense of scale, helping viewers visualize the building’s dimensions in real-world terms. Aim for a balanced number, avoiding overcrowding to keep the focus on the architecture.
Pro Tip: A professional setup adds to your model’s visual appeal and reflects the care taken in the design and building process.
Creating an architectural model requires more than assembling materials—it’s about conveying your vision with precision and impact.
By understanding your model’s purpose, selecting the right materials, mastering your tools, and paying attention to every detail, you’ll craft a model that speaks volumes and engages viewers on every level.


