For interior design, personalization and creativity are key to creating a space that truly feels like home. With the rise of do-it-yourself (DIY) projects and the accessibility of technology like laser cutters, homeowners now have the opportunity to add unique and customized touches to their living spaces. Using a laser cutter to create interior decor pieces allows for precise and intricate designs that can elevate the aesthetic of any room. In this article, we will explore the process of DIY interior decor using a laser cutter, from design inspiration to execution, to help you transform your space into a personalized haven.
Finding Inspiration for Your DIY Projects
Before diving into your DIY interior decor projects, it’s essential to gather inspiration to guide your creative process. Take the time to explore design websites, social media platforms like Pinterest and Instagram, and interior decor magazines to discover trends, styles, and ideas that resonate with you. Pay attention to color schemes, textures, shapes, and patterns that appeal to your aesthetic sensibilities and reflect the mood you want to create in your home.
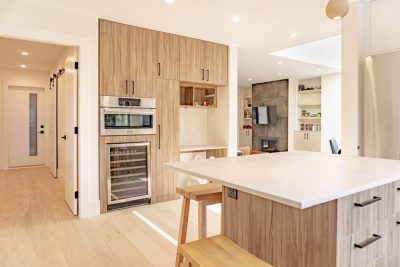
Additionally, consider the existing decor and architecture of your space. Think about how your DIY projects can complement the overall style of your home while adding a unique touch that sets your space apart. Whether you prefer minimalist modern designs, rustic farmhouse charm, or eclectic bohemian vibes, there are endless possibilities for incorporating laser-cut decor into your home.
Choosing Materials and Design Software
When it comes to DIY projects with a laser cutter, the choice of materials is crucial to achieving the desired look and feel of your decor pieces. Common materials used for laser cutting include wood, acrylic, leather, and paper. Each material offers unique characteristics in terms of texture, durability, and finish, allowing you to tailor your projects to suit your style and preferences.
Once you’ve selected your materials, it’s time to choose design software that will enable you to create and customize your decor pieces. Popular design programs like LightBurn, CorelDRAW, and RDworks offer tools for vector-based design, which is essential for laser cutting projects. Familiarize yourself with the software’s features and functionalities to bring your design ideas to life with precision and accuracy.
Designing Your Interior Decor Pieces
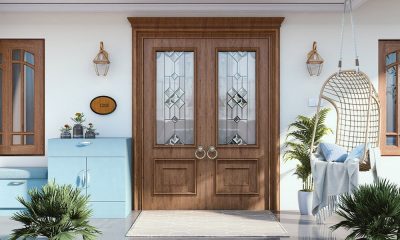
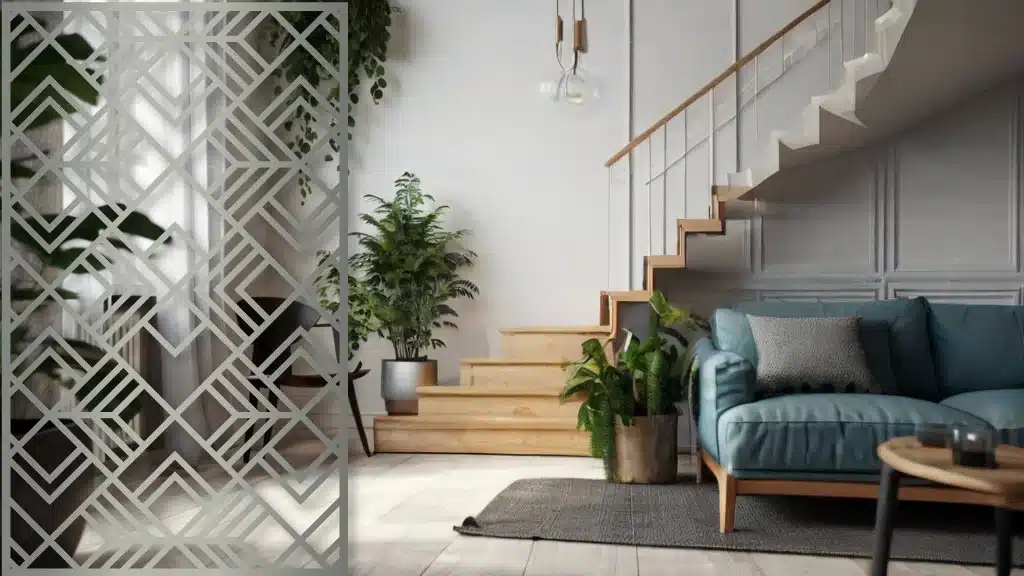
With your inspiration and materials in hand, it’s time to start designing your interior decor pieces. Whether you’re creating wall art, decorative panels, custom signage, or functional accessories, the design process is where your creativity can truly shine. Consider incorporating geometric patterns, intricate filigree designs, personalized text, or nature-inspired motifs to add visual interest to your decor.
When designing for laser cutting, keep in mind the capabilities and limitations of the laser cutter. Pay attention to the cutting and engraving settings, material thickness, and design complexity to ensure that your designs can be accurately translated from the digital file to the physical piece. Experiment with different shapes, sizes, and configurations to find the perfect balance between aesthetics and functionality for your decor projects.
Preparing for Laser Cutting
Once your designs are finalized, it’s time to prepare them for laser cutting. Make sure to set up your design files according to the specifications of your laser cutter, including the cutting and engraving parameters, material dimensions, and positioning on the cutting bed. Double-check your designs for any errors or inconsistencies that may affect the cutting process and make adjustments as needed.
Before proceeding with laser cutting, it’s important to conduct test cuts on scrap materials to ensure that your settings are optimized for the best results. This step allows you to fine-tune the cutting speed, power, and focus to achieve clean and precise cuts on your chosen materials. Remember to wear appropriate safety gear, such as goggles and gloves, when operating the laser cutter to protect yourself from potential hazards.
Bringing Your Designs to Life
With your laser cutter calibrated and your materials loaded, it’s time to bring your designs to life. Watch as the laser cutter follows the intricate paths of your designs, cutting through the material with precision and accuracy. Depending on the complexity of your designs, the cutting process may take varying amounts of time, so be patient and attentive throughout the cutting operation.
Once the cutting is complete, carefully remove your pieces from the cutting bed and inspect them for any imperfections or residue. Use a soft cloth or brush to clean off any debris or ash that may have accumulated during the cutting process. If your designs include engraving or etching, take the time to admire the intricate details and textures that the laser cutter has created, adding depth and character to your decor pieces.
Assembling and Displaying Your Decor Pieces
After the cutting and cleaning process is complete, it’s time to assemble and display your interior decor pieces in your home. Depending on the design, you may need to glue pieces together, attach hanging hardware, or mount the decor on a wall or surface. Take care to follow any assembly instructions or recommendations to ensure that your decor pieces are securely put together and ready for display.
When it comes to showcasing your DIY laser-cut decor, consider the placement and arrangement within your space. Whether you’re creating a focal point with a statement wall art piece or adding subtle accents with decorative panels, think about how each piece contributes to the overall ambiance and style of the room. Experiment with different layouts, groupings, and combinations to find the perfect balance that enhances your home’s aesthetic.
Maintenance and Care Tips
To ensure that your laser-cut interior decor pieces maintain their beauty and longevity, it’s important to follow proper maintenance and care practices. Depending on the materials used, your decor pieces may require different cleaning methods and precautions to preserve their appearance. Here are some general tips for maintaining laser-cut decor:
- Dust regularly: Use a soft, dry cloth or a gentle duster to remove dust and debris from your decor pieces.
- Avoid direct sunlight: Protect your laser-cut decor from prolonged exposure to direct sunlight, which can cause fading or discoloration over time.
- Handle with care: When moving or handling your decor pieces, be gentle to prevent damage to delicate details or edges.
- Use appropriate cleaners: If cleaning is necessary, use mild soap and water or specific cleaners recommended for the material of your decor pieces.
- Inspect for damage: Regularly inspect your decor pieces for any signs of wear, damage, or loosened components that may require repair or replacement.
By following these maintenance tips and caring for your laser-cut interior decor pieces with diligence, you can enjoy their beauty and craftsmanship for years to come.
Conclusion
DIY interior decor projects with a laser cutter offer a creative and rewarding way to personalize your home and express your unique style. From intricate wall art to functional accessories, laser-cut decor pieces can add a touch of sophistication and charm to any room. By drawing inspiration from design trends, selecting quality materials, and mastering the art of laser cutting, you can transform your living space into a curated haven that reflects your personality and creativity.
Embrace the possibilities of DIY interior decor with a laser cutter and let your imagination soar as you design, create, and showcase your one-of-a-kind pieces. Whether you’re a seasoned DIY enthusiast or a novice crafter, the magic of laser cutting technology opens up a world of creative opportunities to elevate your home decor and make a statement that is uniquely yours.