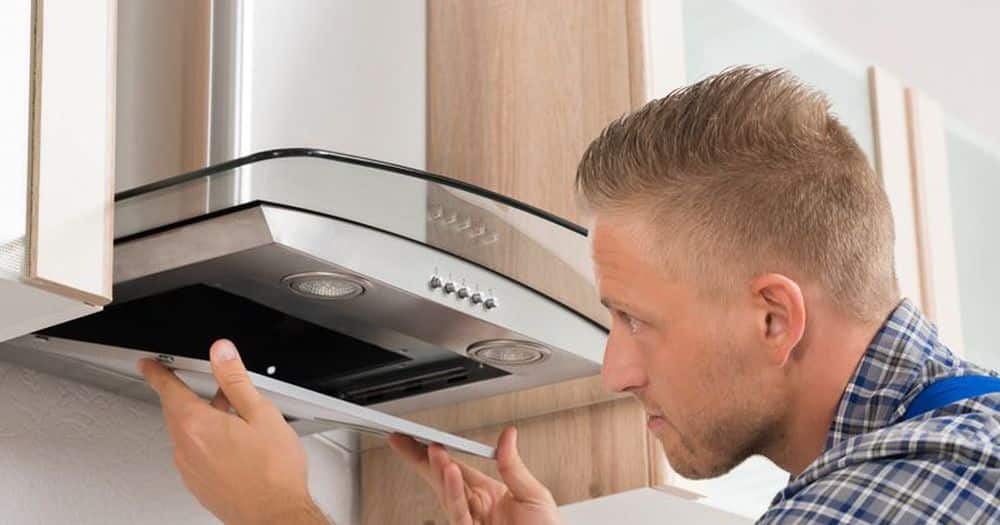
So, you’ve decided it’s time to improve the ventilation in your home by installing an exhaust fan. Whether it’s for your kitchen, bathroom, or any other area prone to moisture and odors, installing an exhaust fan is a great DIY project that can enhance air quality and comfort in your living space. Don’t worry if you’re not a seasoned DIYer – with the right tools, materials, and a step-by-step guide, you can tackle this project with confidence. In this comprehensive guide, we’ll walk you through the entire process of installing an exhaust fan, from planning and preparation to the final installation.
Safety First
Safety is paramount when installing an exhaust fan to prevent accidents, injuries, and potential hazards. Electrical wiring, sharp tools, and working at heights are inherent risks that must be managed carefully. By prioritizing safety, you not only protect yourself but also safeguard your home and loved ones. Ensure these steps during exhaust fan installation:
- Turn off the power at the circuit breaker before starting.
- Use a circuit tester to ensure the power is off.
- Wear safety goggles and gloves to protect against debris and sharp edges.
- Work carefully and take your time to avoid accidents.
- Seek guidance from a qualified professional if unsure.
- Be mindful of electrical wiring and plumbing pipes behind walls or ceilings.
- Follow proper procedures to prevent hazards during installation.
Now that you have all the safety instructions , let’s delve into the steps of “how to install an exhaust fan”
1. Assess Your Needs and Choose the Right Exhaust Fan
Before diving into the installation process, take some time to assess your ventilation needs. Consider the size of the room, the level of moisture or odors present, and the location where you plan to install the exhaust fan. Additionally, determine whether you need a standard exhaust fan or one with additional features like a built-in light or heater.
Once you have a clear understanding of your needs, it’s time to choose the right exhaust fan for the job. Look for a fan that matches the size and specifications required for your space. Pay attention to the fan’s airflow capacity (measured in cubic feet per minute, or CFM) and noise level to ensure it meets your requirements.
2. Gather Your Tools and Materials
Before you begin the installation process, gather all the necessary tools and materials. Here’s a list of what you’ll need:
- Exhaust fan
- Mounting hardware (screws, brackets, etc.)
- Electrical wiring and connectors
- Screwdriver
- Drill and drill bits
- Jigsaw or keyhole saw (if cutting through the wall or ceiling)
- Circuit tester
- Wire nuts
- Safety goggles
- Work gloves
- Ladder or step stool
Having everything you need on hand will streamline the installation process and help prevent delays.
3. Choose the Installation Location
Next, determine the optimal location for installing the exhaust fan. In bathrooms, the fan should be positioned near the shower or bathtub to effectively remove moisture and odors. In kitchens, place the fan above the stove or cooking area to eliminate cooking fumes and excess heat.
Once you’ve chosen the location, make sure there’s sufficient space in the ceiling or wall cavity to accommodate the fan housing. Avoid installing the fan directly above a shower or bathtub unless it’s specifically rated for wet conditions.
4. Prepare the Installation Area
Before cutting into the wall or ceiling, turn off the power to the circuit where you’ll be working. Use a circuit tester to double-check that the power is indeed off before proceeding. Safety should always be your top priority when working with electrical wiring.
Once the power is off, mark the outline of the fan housing on the wall or ceiling using a pencil. If you’re installing the fan in a ceiling with attic access, you may need to remove insulation and clear any obstructions to make room for the fan.
5. Cut an Opening for the Fan
Using a jigsaw or keyhole saw, carefully cut along the outline you marked earlier to create an opening for the exhaust fan. Take your time and work slowly to ensure precision and avoid damaging surrounding surfaces.
If you’re installing the fan in a ceiling, be cautious of any electrical wiring or plumbing pipes that may be hidden behind the drywall. Cut carefully to avoid accidentally damaging these components.
6. Install the Exhaust Fan Housing
Once the opening is cut, it’s time to install the exhaust fan housing. Insert the housing into the opening, ensuring that it fits snugly and is flush with the surrounding wall or ceiling. Use the provided mounting brackets or screws to secure the housing in place.
If the exhaust fan housing includes ductwork, connect it to the appropriate venting system using duct tape or clamps. Make sure the ductwork is properly aligned and securely attached to prevent air leaks.
7. Connect the Electrical Wiring
With the fan housing securely in place, it’s time to connect the electrical wiring. Begin by feeding the electrical wires through the knockout hole in the housing. Strip the insulation from the wires and use wire nuts to connect the black wires (hot), white wires (neutral), and green or bare wires (ground) together.
If you’re unsure about wiring connections, consult the manufacturer’s instructions or seek guidance from a qualified electrician. It’s crucial to ensure that all electrical connections are made correctly to prevent hazards like electrical shock or fire.
8. Secure the Fan Cover and Grille
Once the electrical wiring is connected, attach the fan cover and grille to the exhaust fan housing. Depending on the model, the cover may snap into place or require screws to secure it. Make sure the cover is properly aligned and securely attached to prevent it from coming loose during operation.
If your exhaust fan includes a light or heater, follow the manufacturer’s instructions for installing and securing these additional components. Double-check that all components are properly installed and functioning correctly before proceeding to the next step.
9. Test the Exhaust Fan
Before completing the installation, it’s essential to test the exhaust fan to ensure it’s working correctly. Turn the power back on at the circuit breaker and flip the switch to activate the fan. Listen for any unusual noises or vibrations that may indicate a problem with the installation.
If the fan operates smoothly and effectively removes air from the room, congratulations – you’ve successfully installed an exhaust fan! If you encounter any issues or concerns during testing, double-check your installation steps and consult the manufacturer’s instructions for troubleshooting guidance.
10. Finish Up and Enjoy Your Improved Ventilation
With the exhaust fan installed and tested, it’s time to finish up any remaining tasks and enjoy the benefits of improved ventilation in your home. Patch any holes or gaps in the wall or ceiling surrounding the fan housing using drywall compound or spackle. Sand the patched areas smooth and touch up with paint to blend seamlessly with the surrounding surfaces.
Once the paint is dry, step back and admire your handiwork. You’ve not only tackled a DIY home improvement project but also enhanced the comfort and air quality in your living space. Take pride in your accomplishment and breathe easy knowing that you’ve successfully installed an exhaust fan that will benefit you and your family for years to come.
Conclusion
In conclusion, installing an exhaust fan is a manageable DIY project that can make a significant difference in your home’s ventilation and air quality. By following this comprehensive guide and taking the time to plan, prepare, and execute each step carefully, you can successfully install an exhaust fan with confidence and ease. Remember to prioritize safety, double-check your work, and don’t hesitate to seek professional assistance if needed. With a little time and effort, you’ll be enjoying the benefits of improved ventilation in no time. Happy DIYing!


