Whether you’re about to celebrate Christmas, Hanukkah, or any other religious holiday this winter, it’s likely you’re about to end up with a whole load of people visiting and judging your home. This can be a problem, especially if you haven’t got around to organising all of your bits, bobs and knick-knacks. We often tell ourselves to do that when we first move in, but fast forward three years, and all of your holiday gifts and pokemon cards are still strewn across coffee tables and hiding in shelves.
The holidays are a great opportunity to find the willpower to actually display them, simultaneously decluttering your house whilst providing a nice little display for all of your guests to be impressed with. You can even display the slightly weird ornamental present that you got from your sister-in-law– before she eventually leaves, and you can put it somewhere you’ll never see again.
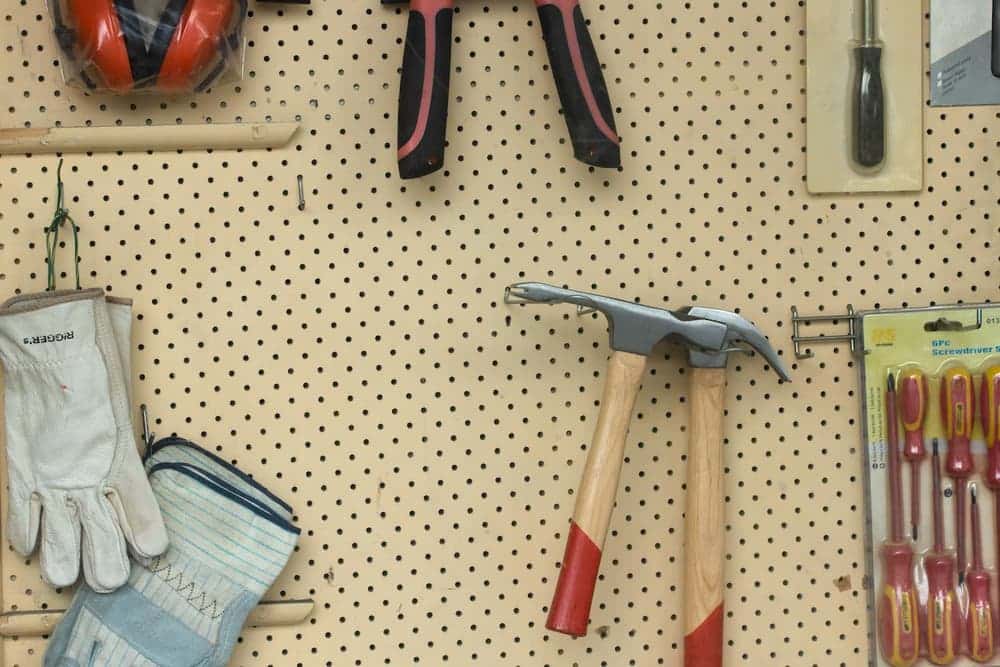
A display cabinet is the perfect DIY project to get all of your knick-knacks together, not to mention they are relatively easy to knock up yourself. All you need is a few nails, a hammer, wood, and a patient partner with earplugs. Here are a few steps you can follow to help you out:
Measure Everything
The first thing you’re going to do is measure the depth of the opening into which you are going to place your cabinet. Then cut your sheet of material – most commonly oak, maple or ash – into strips that correlate with the depth. This is also important when it comes to shelving. It can be a good idea to measure out the taller ornaments that you are hoping to place in your cabinets, such as the Jewish holiday gifts from your parents or that slightly weird ornament from your sister-in-law, and install the shelving appropriately.
Avoid Unnecessary Stress
After measuring height and width and cutting sheet material, many DIYers decide to focus on a door, but these can be notoriously tricky, especially when it comes to display cabinets. Of course, you can choose to add sliding doors – make a centre divider, cut 3mm grooves into the top and bottom and 8mm grooves deep on the opposing side – but this can be an unnecessary hassle, especially if you want your pieces to be displayed at all times.
Attaching The Body
Once you’re finished with all your measurements, it’s time to attach your components together. Use 4 x 50 screws through the bottom and the top sides, then cut a sheet of material for the back fit – 6mm oak veneered MDF would be perfect – and attach the back to the carcass. Once this is done, install a kicker board and the shelves by drilling 3mm holes and hammering in 3mm shelf pins – use a template and follow free in-depth plans to quicken this part of the process. Then attain some mounting plates and place them 30mm away from the front edge – feet can be found in various heights, so it’s up to you to choose what height you want your cabinet to reach – you want to ensure the cabinet is square before doing this, so make sure to measure both diagonals before attaching the feet.
Look For The Bubble
When you’ve moved your cabinet into the opening, use a spirit level and place it in the middle of the central shelf. Ensure that the bubble remains in the centre, and then repeat this amongst all of your shelves and planes, twisting the feet up and down in conjunction with what your spirit level is telling you. Once you are sure it’s level, give it a quick finish with varnish, fill the cabinet with whatever you want, and tell your partner to take the earplugs out. The work is done, and it’s time for them to be wowed by the finished results.
If you’re not a regular DIYer, make sure to take a look around at in-depth guides and follow a few online videos before doing this, especially if you’re not that confident. Put the time and the patience in, and you’ll be sure to come out of the process with a beautiful new display cabinet!