A damaged wood deck not only detracts from the aesthetic appeal of a home but can also pose safety hazards if left unrepaired. Over time, decks suffer from the regular wear and tear of outdoor exposure, including fluctuations in temperature, moisture, and the relentless beating of the sun’s rays. This can lead to issues such as splintering, warping, discoloration, and the loosening of fasteners. Addressing these problems promptly can extend the life of the deck and restore its original beauty and functionality.
Repairing a wood deck involves several steps, starting with a thorough inspection to assess the extent of the damage. Homeowners or repair professionals must identify weakened or rotted boards, unstable railings, and corroded fixtures. After a complete evaluation, the process generally continues with the replacement or mending of damaged wood, securing loose boards, and reinforcing the overall structure to ensure it is sturdy and reliable.
Maintenance is paramount to prevent future damage. Once repairs are complete, applying the appropriate sealants and stains can protect the wood from moisture and the sun’s harmful ultraviolet rays.
Assessing the Damage
Before attempting any repairs, it’s crucial to thoroughly assess the damage to the wood deck. This will determine the necessary steps for restoration and whether professional assistance, such as that from a deck repair service in Seattle, is needed.
Identifying Damage Types
- Physical Damage: Look for broken or splintered boards, popped nails, or screws that may pose safety hazards.
- Water Damage: Evidence includes warped or swollen boards, and areas of discoloration.
- Rot: Often occurs in damp or shaded areas, this can be identified by soft, spongy boards.
- Insect Damage: Termites and other wood-boring insects leave behind trails or holes.
Determining the Extent of Damage
To accurately gauge the scope of damage:
- Surface vs. Structural:
– Surface damage refers to aesthetic issues that don’t compromise the integrity of the deck.
– Structural damage affects the deck’s support and stability.
- Assessment Tools:
– Use a screwdriver to probe for soft spots, which may indicate rot.
– Inspect the joists and posts for stability.
- Area Coverage:
– Minor, localized issues may only require simple patching.
– Extensive damage, especially in structural components, often necessitates replacement and possibly professional repairs by services specializing in deck repair.
Preparing for Repairs
Repairing a damaged wood deck requires careful preparation. One must gather the necessary materials and implement safety precautions to ensure a smooth and secure repair process.
Gathering Materials
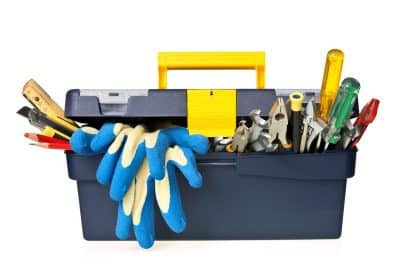
Before starting deck repairs, the following materials should be collected:
- Replacement boards: Match them to the existing deck material.
- Nails or Screws: Use weather-resistant options suitable for outdoor use.
- Hammer or Power Drill: For removing or securing deck boards.
- Wood Filler: To fill small cracks or holes.
- Sandpaper or a Power Sander: For smoothing rough surfaces.
- Paint or Stain and Sealant: Match the existing deck’s finish.
Safety Precautions
Safety is critical during deck repairs. One should observe the following safety measures:
- Wear Protective Gear: Including safety glasses, gloves, and sturdy, slip-resistant shoes.
- Check the Work Area: Ensure there’s no loose debris or protruding nails.
- Secure the Area: Keep children and pets away from the repair site.
- Follow Tool Instructions: Use power tools as instructed to avoid injury.
- Beware of Structural Damage: If there’s significant damage, consult a professional before proceeding.
Executing Deck Repairs
When embarking on the task of repairing a damaged wood deck, one needs to address the primary concerns of structural integrity, safety, and aesthetic restoration. Each step requires attention to detail and proper technique to ensure a lasting repair.
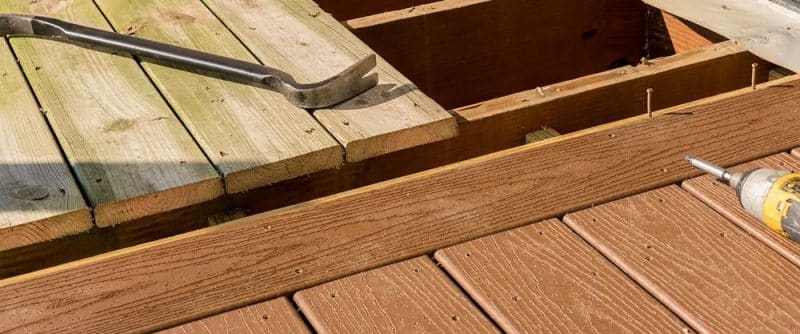
Replacing Damaged Boards
Before replacing damaged boards, inspect the entire deck for rot, splinters, and warping. Identify the boards that need replacement and note their dimensions.
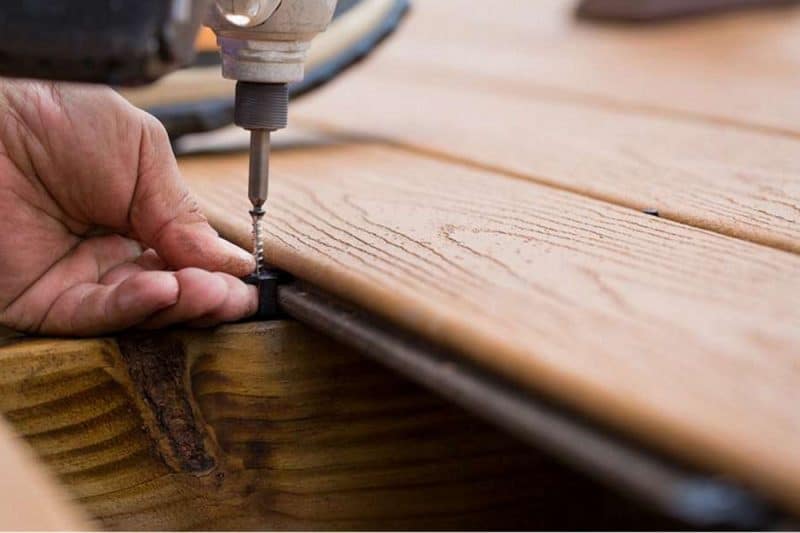
- Remove the affected boards carefully to avoid damaging adjacent undamaged boards.
- Cut new boards to match the dimensions of the old ones using a saw.
- Fasten the new boards in place with deck screws, ensuring they are flush with the existing deck surface.
Fixing Loose Railings
To prevent any accidents caused by instability, reinforcing loose railings is essential.
- Tighten all fasteners using a wrench or screwdriver.
- Inspect the posts and railings for rot. If replacement is necessary, one should:
– Remove the rotted sections.
– Cut and secure new posts and railings matching the existing style and measurements.
- Use wood filler or epoxy to repair small cracks or splinters in the railings before they worsen.
Sanding and Refinishing
The final stage involves sanding and refinishing the deck to protect against weather damage and to enhance its appearance.
- Sand the entire deck with an orbital sander to remove splinters and rough spots.
– Start with coarse grit sandpaper and progress to finer grit for a smooth finish.
- Choose a high-quality deck stain or sealant.
– Apply the product with brushes or rollers, following the manufacturer’s instructions for best results.
- Allow the sealant to dry thoroughly before using the deck.
In situations where the damage is extensive or the homeowner does not feel equipped to tackle the repair, seeking help from a deck repair company is advisable. Professionals have the expertise and tools to efficiently restore the deck to its former condition.
Preventive Measures and Maintenance
The longevity and safety of a deck are highly dependent on regular preventive measures and proper maintenance routines.
Routine Inspection
- Visual Check: At least twice a year, homeowners should conduct a thorough visual examination of their wood deck for signs of wear and damage. Look for loose nails, rotting boards, and unstable railings.
- Professional Inspection: It’s advisable to have a professional inspect the deck every 2-3 years to identify any structural issues that may not be apparent to the untrained eye.
Sealing and Protecting Deck
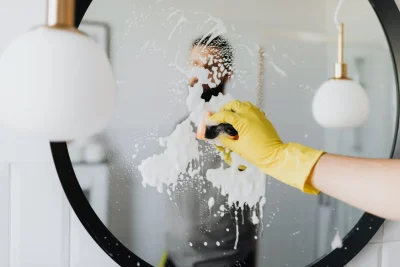
- Cleaning: Before sealing, the deck must be cleaned of dirt, grime, and debris. Use a deck cleaner suitable for the wood type, following the manufacturer’s instructions.
- Sealing: Apply a water-repellent sealant to protect the wood from moisture, which can lead to rot and decay. This should be done every 1-2 years, or as recommended by the sealant manufacturer.
Takeaway
In conclusion, repairing a damaged wood deck is a process that requires attention to detail and the right tools. From the initial assessment of damage and replacing compromised boards to cleaning, sanding, and applying a protective finish, each step contributes to extending the deck’s lifespan and maintaining its aesthetic appeal. The time and effort invested in these repairs not only rejuvenate the outdoor space but also ensure the safety of those who use it. With regular maintenance and proper repairs, a wood deck can continue to be a pleasant area for relaxation and socializing for many years to come.