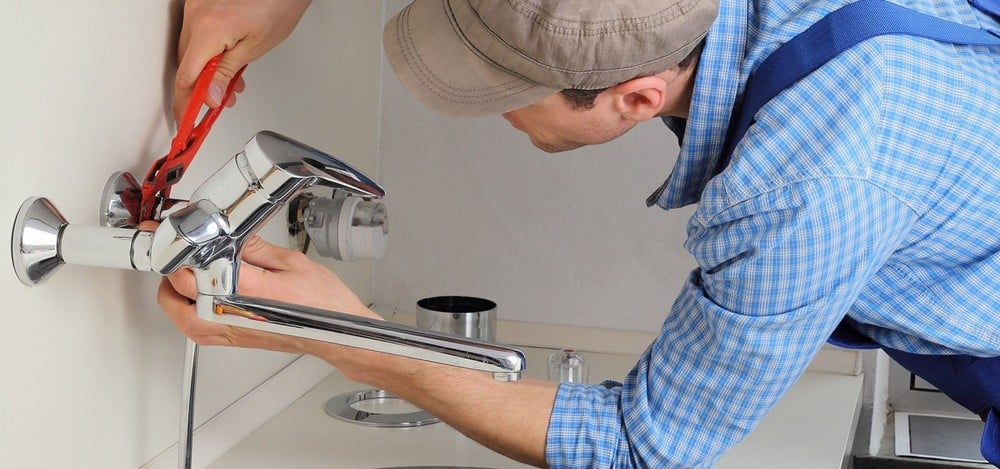
So, you’ve decided it’s time to give your kitchen or bathroom a little upgrade, huh? Well, you’re in luck because we’re about to embark on a faucet replacement adventure together! Now, I know what you’re thinking – DIY plumbing sounds intimidating. But trust me, with a bit of guidance and a can-do attitude, you’ll be a pro in no time. Picture this: you, armed with tools and determination, confidently swapping out that old faucet for a shiny new one. Exciting, right? Whether you’re aiming for a fresh look or just want to stop that annoying drip, we’ve got your back. So, grab a cup of coffee (or your beverage of choice), roll up your sleeves, and let’s dive into this project together. By the end, not only will you have a stylish new fixture, but you’ll also feel like a DIY superhero. Ready? Let’s do this!
DIY Faucet replacement will take your 30 minutes to over an hour time!
Proceed With Safety
Before you start replacing your faucet, you will need to ensure your personal safety by following these steps.
- Wear protective gear: Consider wearing gloves and safety glasses to protect your hands and eyes from potential hazards like sharp edges or splashing water.
- Clear the workspace: Remove any obstacles or clutter from around the sink area to provide ample space for maneuvering and working safely.
- Gather necessary tools: Ensure you have all the required tools and materials on hand before starting the installation to minimize the risk of interruptions or accidents while working.
Step 1: Gather Your Tools and Materials
Alrighty, first things first – let’s gather up all the goodies you’ll need for this faucet replacement extravaganza. Here’s your shopping list:
- New Faucet: Obviously, you’ll need your shiny new faucet to replace the old one. Make sure it matches your sink and has all the necessary parts.
- Adjustable Wrench: This trusty tool will be your best friend throughout the process, helping you tighten and loosen nuts and bolts.
- Basin Wrench: This specialized wrench comes in handy for those hard-to-reach places under the sink.
- Plumber’s Tape: Don’t forget this magical tape! It’ll help prevent leaks by creating a watertight seal around the threads of your water supply lines.
- Screwdriver: You never know when you’ll need to unscrew something, so keep a trusty screwdriver nearby.
- Bucket: Trust me, you’ll want to have a bucket handy to catch any water that might drip during the process.
- Towels: Keep some towels nearby to clean up any messes and protect your floor or countertop.
Once you’ve got all your tools and materials gathered up, you’ll be ready to tackle the next steps with confidence. Let’s do this!
Step 2: Turn Off the Water Supply
Safety first, folks! Before we start tinkering with anything under the sink, we need to make sure the water is shut off.
- So, let’s track down those shut-off valves lurking beneath your sink. Usually, you’ll find them on the wall or floor near the back of the cabinet.
- Once you’ve located those sneaky valves, give them a twist clockwise to shut off the water flow. This action will prevent any unexpected showers (of the unwanted variety) while you’re elbow-deep in faucet replacement fun.
- Now, it’s time for a quick double-check. Turn on the faucet to release any remaining water pressure and let it drain completely. This step ensures you won’t be greeted with a surprise spray when you start disconnecting things.
With the water supply safely turned off, you’re all set to dive into the next phase of your faucet replacement journey. Let’s keep the momentum going!

Step 3: Disconnect the Old Faucet
Alright, time to bid farewell to that trusty old faucet. But before we can usher in the new, we need to disconnect the old one. Grab your adjustable wrench and get ready to loosen things up.
- Start by disconnecting the water supply lines from the old faucet. Use your wrench to carefully loosen the nuts attaching the lines to the faucet’s valves. Pro tip: have a bucket handy to catch any water that might drip out.
- Next up, it’s time to bid adieu to any screws or bolts that are holding the faucet in place. Whip out your screwdriver and remove these fasteners, taking care not to lose any small parts in the process.
- Once everything is disconnected, gently lift the old faucet up and away from the sink. You might encounter some resistance if there’s old caulk or adhesive holding it down, so be prepared to use a bit of muscle.
Step 4: Install the New Faucet
Exciting times ahead – it’s finally time to install your brand spanking new faucet! Here’s a handy checklist to guide you through the process:
- Apply Plumber’s Tape: Start by wrapping plumber’s tape around the threads of the water supply lines to create a secure seal and prevent leaks.
- Position the Faucet: Carefully place the new faucet into position on the sink, ensuring that it aligns perfectly with the mounting holes.
- Secure the Faucet: Using the hardware provided with your new faucet, secure it in place by tightening the nuts or bolts underneath the sink. A basin wrench might come in handy for those hard-to-reach spots.
- Connect the Water Supply Lines: Reconnect the hot and cold water supply lines to their respective valves, making sure to tighten them securely with your adjustable wrench.
Step 5: Check for Leaks and Functionality:
Now that your new faucet is securely in place, it’s time to ensure everything is working smoothly and leak-free. Here’s what you need to do:
- Turn On the Water Supply: Gradually turn on the water supply by gently opening the shut-off valves under the sink.
- Inspect for Leaks: Carefully examine the connections and joints for any signs of leaks. Keep an eye out for drips or pooling water around the base of the faucet or under the sink.
- Test Functionality: Turn on both the hot and cold water handles to verify that water flows smoothly and evenly from the faucet. Check for any unusual noises or sputtering that may indicate issues with the installation.
- Check Handles and Sprayer (if applicable): Test the functionality of any additional features, such as pull-out sprayers or side handles, to ensure they operate correctly.
- Make Adjustments if Necessary: If you notice any leaks or issues, tighten connections as needed and retest. Don’t forget to wipe away any excess water with a towel to keep your workspace clean and dry.
By meticulously checking for leaks and ensuring functionality, you’ll be able to enjoy your newly installed faucet with confidence, knowing it’s in tip-top shape.
Conclusion
Well done! You’ve successfully replaced your faucet, transforming your kitchen or bathroom with a fresh new look. With attention to detail and a focus on safety, you’ve tackled this DIY project like a pro. Take pride in your accomplishment, knowing that you’ve not only improved your space but also honed your skills. As you admire the results, remember the satisfaction of a job well done. Now, sit back, relax, and enjoy the convenience and beauty of your upgraded fixture. Cheers to your DIY success and to many more rewarding projects ahead!


