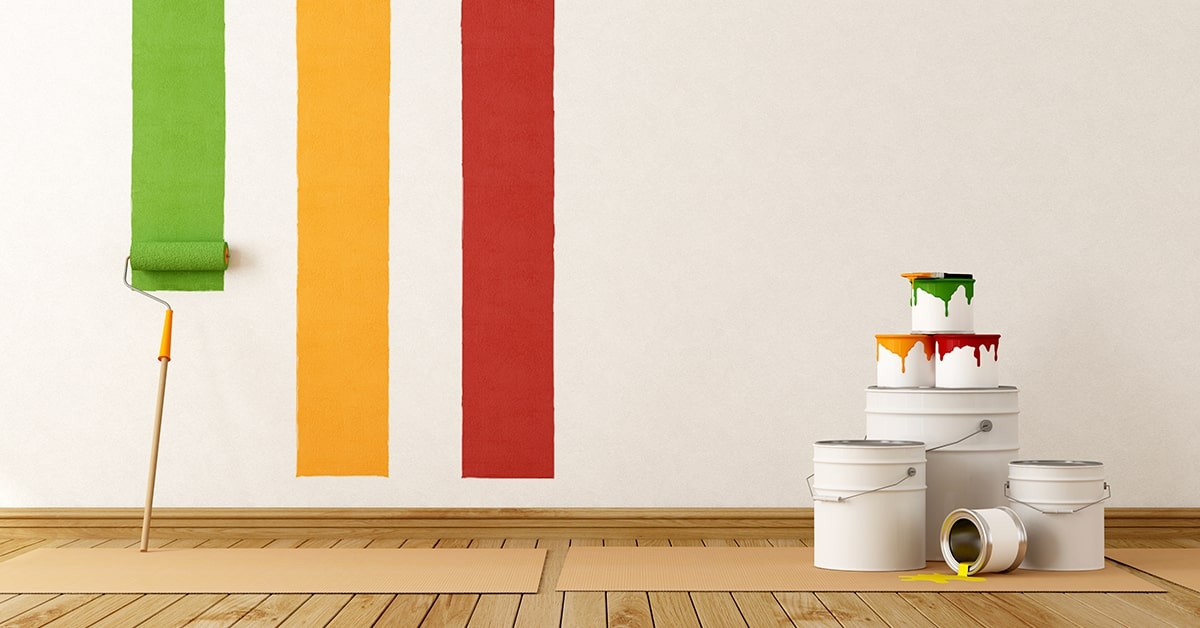
Painting the walls may look like an easy task for transforming your home, but in reality, it takes more than picking up a paintbrush to achieve a smooth finish.
Preparing a plan, picking the right tools and materials, and using the proper techniques are a few factors that you should consider before attempting your project. That’s why we’re spilling a few painter-approved tips and tricks below to help you achieve the home makeover you’re hoping for.
1. Have a plan
Before you start your painting project, it’s best to formulate a plan. This way, every step in the process is done efficiently since you’re organized.
This includes deciding on a paint color, design, budget, and schedule of when you plan on implementing the project.
If you’re painting outdoors, consider the weather. Since you won’t be able to paint in the rain, it’s best to choose a day when it’s sunny – or else the paint will wash away and your efforts will be lost.
If you’re having trouble deciding which color to pick, you can get some paint swatches at the hardware store. You can line them on your walls to know how a color will look once applied.
2. Protect the room
It’s highly recommended that you protect the room before painting to prevent paint from getting on surfaces that shouldn’t be on. Move as much furniture out of the room as possible, including cabinets, couches, or shelves. Don’t forget to remove light fixtures and switch covers if the surface you’ll paint covers them.
Cover the floors with canvas drop cloths to protect them from paint drips. Make sure to overlap each other, so paint doesn’t sneakily get through small openings.
You can also cover windows, moldings, and door frames with painter’s tape to protect their surfaces from paint. This also ensures you get crisp and smooth edges after painting.
3. Clean the walls
You might think you don’t need to clean the walls before painting. But you’ll be surprised how much dirt and grime it can accumulate over time.
Use a damp cloth to wipe its surfaces. If you’re dealing with stubborn stains, use a mild soap and a soft brush to scrub them away. Don’t forget to rinse the walls with water afterward to remove soap residue. Allow the surfaces to dry completely before you proceed to the next step.
If you’re repainting, cleaning the walls beforehand provides a better surface for the paint to adhere to. The coat will last longer since there’s no layer of dust, stain, or grime on the surface.
4. Sand the surfaces
Sanding the walls is an underrated step in painting. Aside from removing old paint from the surface, it also makes it smoother, so the paint adheres better.
It’s also good practice to sand areas where you repair cracks or holes to remove rough and uneven textures. Skipping this step will make imperfections more evident after painting, so it’s better to prep the surface beforehand than to get substandard results later.
After sanding, don’t forget to clean the walls with a damp cloth to remove any dust. Leaving them on the surface will result in paint clumps and blotchy color.
5. Use the right nap roller
One of the most common mistakes that novice painters make is picking up the first nap roller they see. Most don’t know that their sizes and thickness have a specific purpose depending on the type of wall.
According to Soho Painters, a ¼-inch nap is best for smooth or untextured walls since they hold less paint and spread easily on those surfaces. A ½-inch nap is great for most wall surfaces, including slightly textured wood and drywall, acoustic tiles, and smooth concrete.
A 1-inch nap is great for coarser walls, like painted textured stucco, concrete, or plaster. While. a 1 ½-inch nap works best on textured surfaces, such as unpainted concrete, stucco, brick, and wooden walls.
6. Buy high-quality paint
This tip may be a no-brainer, but you’ll be surprised how many novice painters make the mistake of buying the cheapest paint they can find.
High quality paints tend to have better colorants that bind strongly with the paint. This results in a smoother and longer lasting finish since it penetrates the surface of the wall deeper. It also provides better protection against moisture, mildew, and molds, reducing infestations when painting bathrooms and laundry rooms.
It also minimizes chipping, peeling, and cracking, so you won’t have to refresh your wall paint as often.
7. Paint finish matters
Aside from choosing the right color and quality, you should also consider the type of paint finish to use depending on the room you’re painting. For instance, high-gloss and semi-gloss paint are great for areas with high traffic or moisture since their glossy finishes provide an extra layer of protection against damage or mildew.
While matte paint may create an appealing visual contrast to a room, you should avoid using it in bathrooms or laundry rooms since it tends to absorb moisture – thus making it peel or chip sooner than you like.
8. Paint in a ‘W’ Pattern
Painting in a ‘W’ pattern may seem contradictory, but this technique ensures your walls get an even coverage. If you paint straight up and down, the strokes lift the paint you just applied so you’ll need to repeat the process just to get a uniform finish.
To do the ‘W’ method, create a 12-inch W on a section of the wall. Then, fill inside and around the W to create a square. Repeat the process until you fill the entire wall. Remember to load your paint roller with paint before creating the next W to ensure it provides a smooth coverage.
Need help with painting your home?
You can trust Soho Painters to handle your project to ensure your walls get professional treatment. Their team of experts is equipped with the best materials, experience, and training to ensure flawless results. They also offer apartment and commercial painting. For questions or inquiries, visit their website now and book a free estimate.


