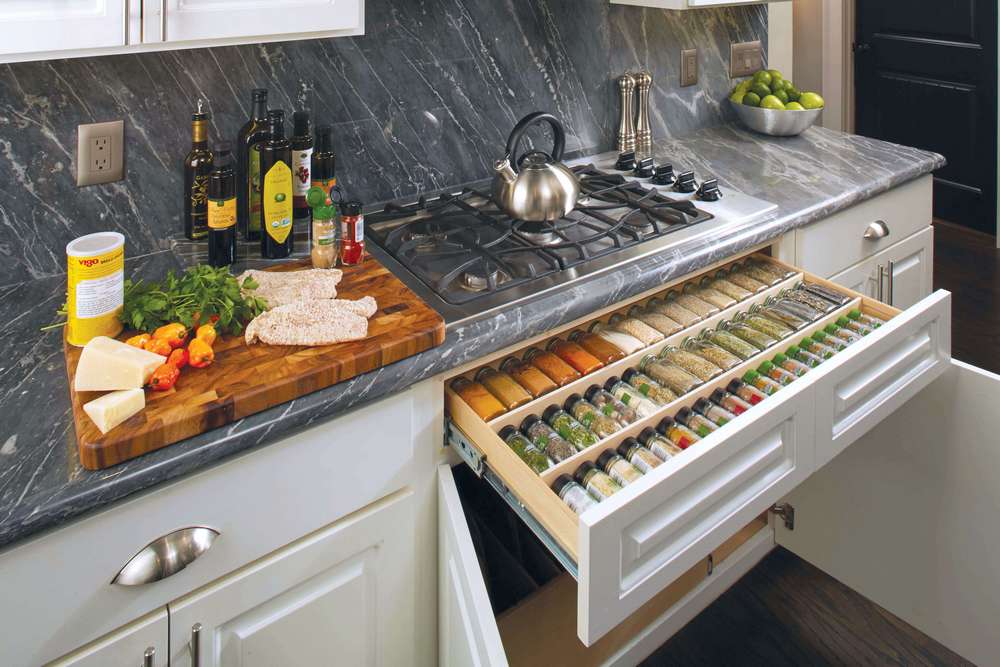
When your kitchen design looks outdated or dull, it’s a clear sign you should make some much-needed changes. You don’t have to spend a fortune on your home improvements — minor tweaks can help you transform your kitchen into a much more comfortable place.
One of the best and most affordable ways to breathe new life into your kitchen space is to roll up your sleeves and complete a few DIY projects. We recommend starting with building your own cabinets.
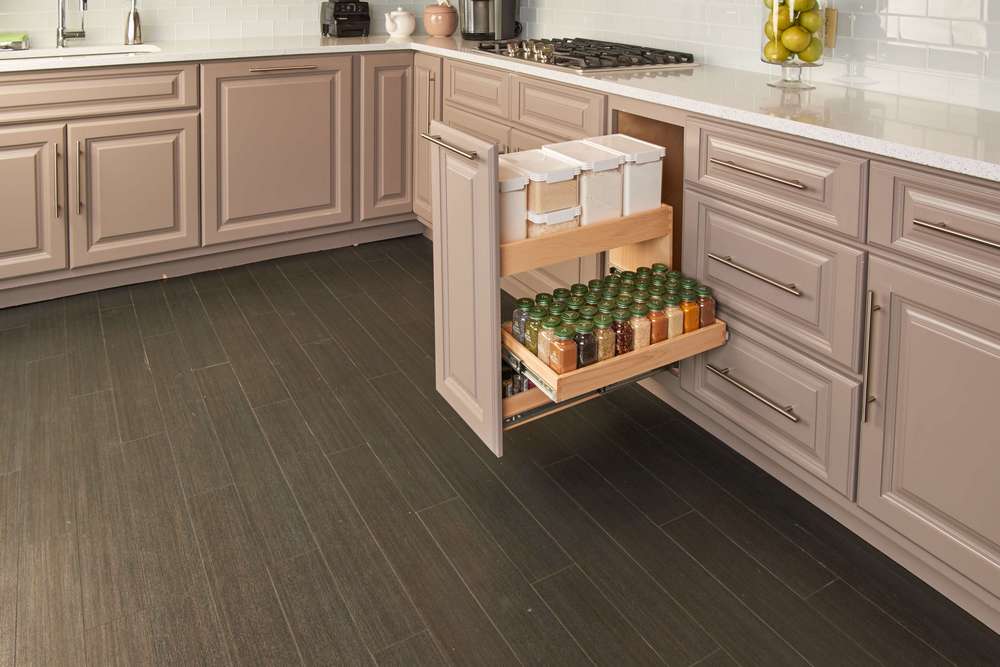
The first task on your to-do list is considering the overall look and feel you want to achieve. Do you want to go all-out extravagant or opt for something more contemporary? For example, a custom pull-out cabinet painted in beige or white will work perfectly for modern interiors but not necessarily for kitchens with a rustic vibe.
At the same time, consider your storage needs and available space. How large do the cabinets have to be, and how much room do you have to accommodate them?
Other tasks you need to tackle include:
● cutting lumber and plywood into manageable pieces,
● assembling the cabinet base,
● installing panels and doors,
● painting the cabinet in a chosen color.
Here is a step-by-step guide to building a custom cabinet:
Step 1: Consider the Style You Are Going For
The first step is to decide on the style and design of your cabinets. An excellent place to start is to look at other kitchen cabinets that you like, whether it is a friend’s space or a photo from a magazine.
There are several options available, ranging from simplistic and contemporary to rustic. For example, corner cabinets are perfect for kitchens with little storage space. You can use them for storing spices, pots, or dishes. On the other hand, if you have a lot of stuff to store in your kitchen, it’s a good idea to build big cabinets with lots of compartments and drawers.
By taking all these factors into consideration, you will be able to make the right decision when it comes to choosing the right style.
Step 2: Measure the Space for Your Cabinets
Before you start building the cabinet, take accurate measurements of the area and make a sketch of the layout. Decide whether you want to create open or closed cabinets, and figure out how many doors, drawers, and shelves you’ll need.
To create a corner design, ensure you know where the walls are and how much room you have to work with. Draw the outlines on paper to visualize how the cabinet will look in its final position. Also, take into account any overhead cabinets and other elements that may affect the placement of your new ones.
The last thing you want to do is build a new cabinet only to find out it doesn’t fit where you planned it to hang.
Step 3: Cut Lumber Into Manageable Pieces
Next, you need to cut the lumber into smaller pieces. You will need a circular saw, and a hand or miter saw.
Set up a crosscut sled on your table saw. Measure and mark the pieces, then cut them to size with your circular saw.
Afterward, use a miter saw to cut away excess material and smooth the edges with sandpaper.
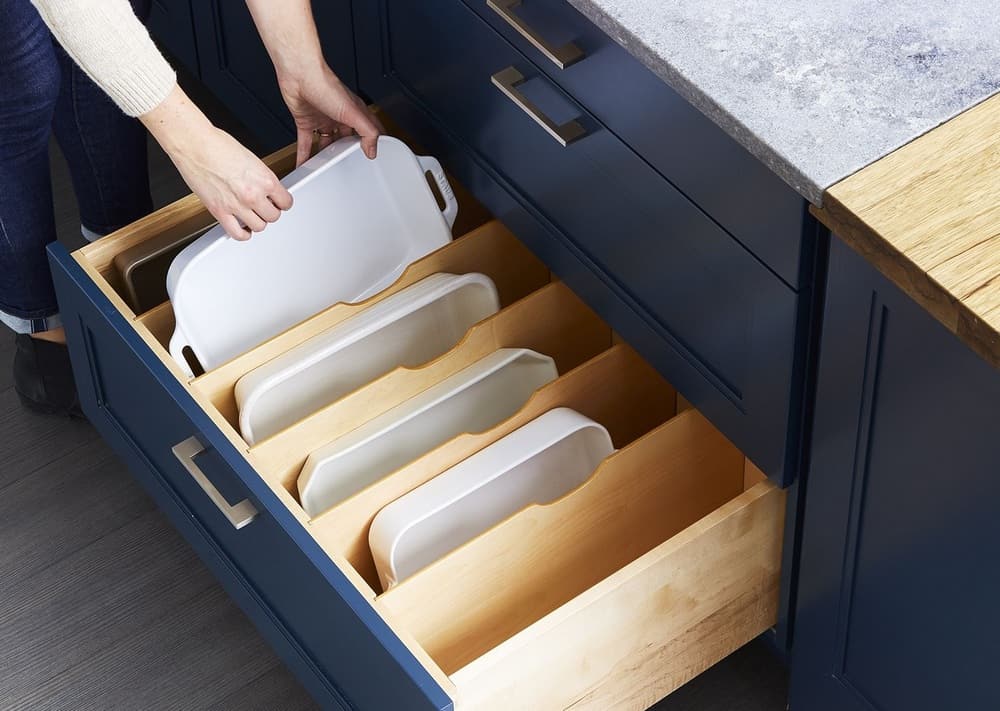
Step 4: Assemble the Wood Frame
A wood frame is the skeleton of your cabinet. It’s crucial to assemble your frame correctly to avoid costly mistakes later on.
Construct a box-like structure around the base. Make sure each piece is joined securely with nails or screws. Everything should be lined up correctly with no gaps or spaces that can let moisture in.
Here are a few tips to help you get the job done right:
● Use screws for every joint, and make sure they’re tight.
● Use a screwdriver to tighten screws and a drill for drilling holes. Doing so will make the whole process much faster.
● When you’re done, use a wrench or hammer to tighten the screws. It will prevent your wood frame from falling apart.
Step 5: Install Panels and Doors
Now it’s time to install folding doors and panels into place. Take a look at your plans and find out how to mount the panels and doors.
Start by cutting panels to size (you can do it before or after assembling the box). Fit them into place to get an idea of what they’ll look like when attached to the frame.
Unless you’re working with prefabricated cabinets, you will need to drill holes for hinges on both sides of the door. Some of these products come with pre-drilled holes, but if yours don’t have them, use a drill to create holes the size of the screws.
Attach hinges and make sure they hold firmly in their places without any gaps between them. Attach doors in the same way.
Once your doors are mounted, check whether they operate smoothly inside their frames and close when you let go of them. If necessary, adjust the hinges, so they fit perfectly.
Step 6: Paint Your Custom Cabinets
Painting your custom cabinets is akin to the cherry on top of a cake — it’s the final step to making your home look gorgeous!
To ensure the paint job is done correctly, wear protective gear such as a dust mask, goggles, and gloves. Also, use brushes that have been previously washed and dried.
Keep in mind that the paint will show up differently depending on the wood you’re using. As such, you must apply just enough paint so it doesn’t look over-saturated.
In addition, make sure that the paint you use is designed specifically for woodworking. We recommend using semi-gloss latex paint for a durable finish that will stand the test of time. Apply several coats until you achieve a smooth finish without any visible brush strokes or streaks.
After you’ve finished painting, let the paint dry for several hours or even a day before installing the cabinets. You don’t want your custom cabinets to be wet, as it will cause stains.
In Conclusion
The next time you plan to renovate the kitchen or add a new space, think about remodeling your cabinets from scratch. You can either turn them into custom cabinets or simply replace the doors and drawers with new ones.
A custom-built cabinet is not only one of the cheapest home improvement projects but also an investment that provides a high return. It will add beauty and value to your kitchen while increasing its overall versatility.
If you are concerned that you don’t have the time or expertise to tackle DIY home improvement projects, hire a professional design and installation service to complete the job for you. Good luck!
